Sector 3 (PYR): Difference between revisions
Mysterypaint (talk | contribs) m Text replacement - "PYR Room 7A100" to "PYR Data Room Access" |
Mysterypaint (talk | contribs) |
||
| Line 6: | Line 6: | ||
== List of Rooms == | == List of Rooms == | ||
[[PYR-TRO Elevator / PYR Entrance Lobby]] | [[PYR-TRO Elevator / PYR Entrance Lobby]] | ||
| [[Deserted Runway ]] | | [[Deserted Runway]] | ||
| [[B.O.X. Tutorial Room ]] | | [[B.O.X. Tutorial Room]] | ||
| [[Neo-Crocomire Maintenance Room ]] | | [[Neo-Crocomire Maintenance Room]] | ||
| [[Boiler Room ]] | | [[Boiler Room]] | ||
| [[PYR Auxiliary Room Access ]] | | [[PYR Auxiliary Room Access]] | ||
| [[Garbage Chute Runway ]] | | [[Garbage Chute Runway]] | ||
| [[Overthinking Chamber ]] | | [[Overthinking Chamber]] | ||
| [[Checkpoint Crossing ]] | | [[Checkpoint Crossing]] | ||
| [[Phantom Neo-Crocomire Arena ]] | | [[Phantom Neo-Crocomire Arena]] | ||
| [[Deceptive Station ]] | | [[Deceptive Station]] | ||
| [[Ironway ]] | | [[Ironway]] | ||
| [[Trash Gap ]] | | [[Trash Gap]] | ||
| [[Big Red Maintenance Storage ]] | | [[Big Red Maintenance Storage]] | ||
| [[PYR | | [[PYR-MDK Access]] | ||
| [[PYR Data Room Access ]] | | [[PYR Data Room Access]] | ||
| [[Elevator to Neo-Ridley ]] | | [[Elevator to Neo-Ridley]] | ||
| [[Neo-Ridley Gauntlet Access ]] | | [[Neo-Ridley Gauntlet Access]] | ||
| [[Garbage Chute ]] | | [[Garbage Chute]] | ||
| [[Big Red ]] | | [[Big Red]] | ||
| [[Hot Potato ]] | | [[Hot Potato]] | ||
| [[PYR Room | | [[PYR Security Room]] | ||
| [[Yameba Gauntlet ]] | | [[Yameba Gauntlet]] | ||
| [[Chute Pit ]] | | [[Chute Pit]] | ||
| [[Sova Processing Access ]] | | [[Sova Processing Access]] | ||
| [[PYR | | [[PYR-ARC Access]] | ||
| [[Bubble Heights ]] | | [[Bubble Heights]] | ||
| [[Lava Dive Room ]] | | [[Lava Dive Room]] | ||
| [[Hopping Barricade ]] | | [[Hopping Barricade]] | ||
| [[Neo-Ridley Arena ]] | | [[Neo-Ridley Arena]] | ||
| [[Sova Processing ]] | | [[Sova Processing]] | ||
| [[Big Red Geron Gate Room ]] | | [[Big Red Geron Gate Room]] | ||
| [[Bubble Storage ]] | | [[Bubble Storage]] | ||
| [[Fune Tower ]] | | [[Fune Tower]] | ||
| [[PYR Etecoon Room ]] | | [[PYR Etecoon Room]] | ||
| [[PYR Security Room Access ]] | | [[PYR Security Room Access]] | ||
| [[Bob's Abode ]] | | [[Bob's Abode]] | ||
| [[Geron's Treasure ]] | | [[Geron's Treasure]] | ||
| [[Neo-Crocomire Arena ]] | | [[Neo-Crocomire Arena]] | ||
| [[Yameba Tower ]] | | [[Yameba Tower]] | ||
| [[Elevator Passage to Neo-Ridley ]] | | [[Elevator Passage to Neo-Ridley]] | ||
| [[PYR Data Room]] | | [[PYR Data Room]] | ||
| [[PYR Navigation Room]] | | [[PYR Navigation Room]] | ||
Revision as of 12:14, 15 August 2025
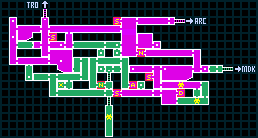
About
Sector 3 (PYR) is an area for X-Fusion.
List of Rooms
PYR-TRO Elevator / PYR Entrance Lobby | Deserted Runway | B.O.X. Tutorial Room | Neo-Crocomire Maintenance Room | Boiler Room | PYR Auxiliary Room Access | Garbage Chute Runway | Overthinking Chamber | Checkpoint Crossing | Phantom Neo-Crocomire Arena | Deceptive Station | Ironway | Trash Gap | Big Red Maintenance Storage | PYR-MDK Access | PYR Data Room Access | Elevator to Neo-Ridley | Neo-Ridley Gauntlet Access | Garbage Chute | Big Red | Hot Potato | PYR Security Room | Yameba Gauntlet | Chute Pit | Sova Processing Access | PYR-ARC Access | Bubble Heights | Lava Dive Room | Hopping Barricade | Neo-Ridley Arena | Sova Processing | Big Red Geron Gate Room | Bubble Storage | Fune Tower | PYR Etecoon Room | PYR Security Room Access | Bob's Abode | Geron's Treasure | Neo-Crocomire Arena | Yameba Tower | Elevator Passage to Neo-Ridley | PYR Data Room | PYR Navigation Room | PYR Auxiliary Room | PYR Security Room | PYR Save Station South | PYR Save Station North | PYR Save Station West
Items in PYR
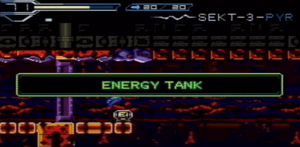
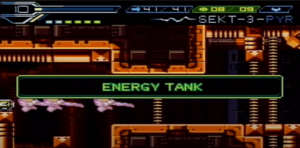
Energy Tanks
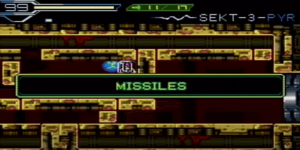
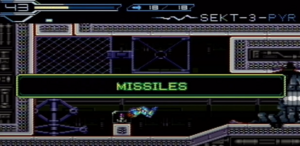
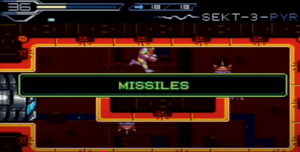
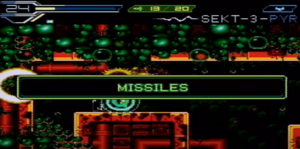
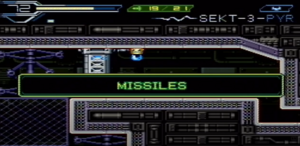
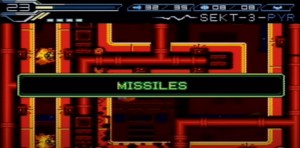
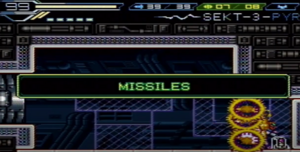
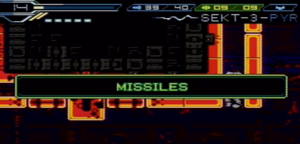
Missile Tanks
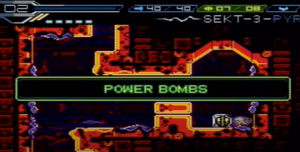
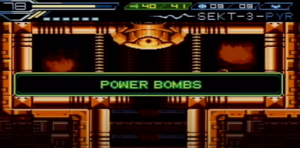
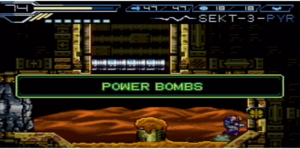
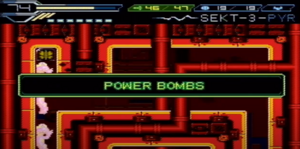
Power Bomb Tanks
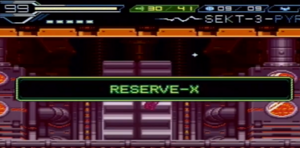
Reserve X
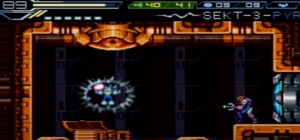
Etecoons
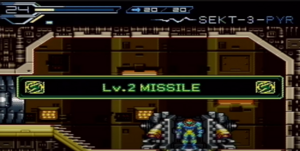
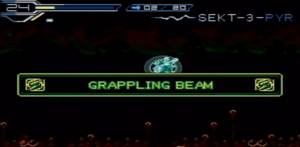
Major Items
Aux Power Cells
