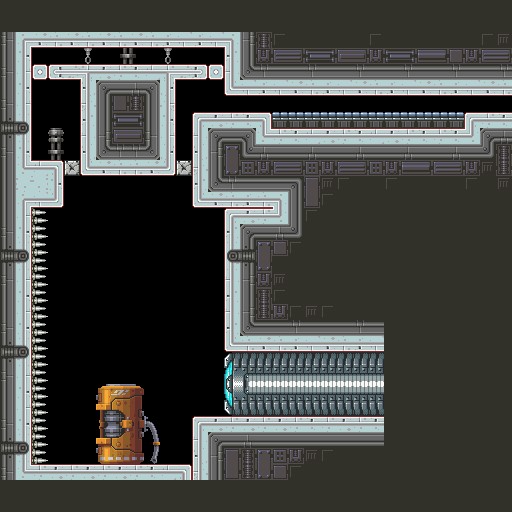
Buoyant Bridge: Difference between revisions
From X-Fusion Wiki
Jump to navigationJump to search
Mysterypaint (talk | contribs) Created page with "{{Adjacent rooms | northwest = | westnorth = | north = | northeast = | eastnorth = | westupper = | west = | eastupper = | east = | southwest = | westsouth = | south = | southeast = | eastsouth = }} x512px Sector: Sector 4 (AQA) == All Categories == == Items == * None" |
Mysterypaint (talk | contribs) No edit summary |
||
| Line 3: | Line 3: | ||
| westnorth = | | westnorth = | ||
| north = | | north = | ||
| northeast = | | northeast = Morph Ball Hole: [[AQA Room 7A300]] (West Morph Ball Hole) | ||
| eastnorth = | | eastnorth = | ||
| westupper = | | westupper = | ||
| Line 12: | Line 12: | ||
| westsouth = | | westsouth = | ||
| south = | | south = | ||
| southeast = | | southeast = [[AQA Save Room West]] | ||
| eastsouth = | | eastsouth = | ||
}} | }} | ||
Revision as of 09:58, 14 August 2025
| Morph Ball Hole: AQA Room 7A300 (West Morph Ball Hole) | ||
| Current Room | ||
| AQA Save Room West |
Sector: Sector 4 (AQA)
All Categories
Items
- None
