Buoyant Bridge: Difference between revisions
From X-Fusion Wiki
Jump to navigationJump to search
Mysterypaint (talk | contribs) No edit summary |
Mysterypaint (talk | contribs) |
||
| (4 intermediate revisions by the same user not shown) | |||
| Line 3: | Line 3: | ||
| westnorth = | | westnorth = | ||
| north = | | north = | ||
| northeast = Morph Ball Hole: [[ | | northeast = Morph Ball Hole: [[Deathcrab Spire]] (West Upper Morph Ball Hole) | ||
| eastnorth = | | eastnorth = | ||
| westupper = | | westupper = | ||
| Line 12: | Line 12: | ||
| westsouth = | | westsouth = | ||
| south = | | south = | ||
| southeast = [[AQA Save | | southeast = [[AQA Save Station West]] | ||
| eastsouth = | | eastsouth = | ||
}} | }} | ||
| Line 24: | Line 24: | ||
== Items == | == Items == | ||
* | * [[Missile Tank 21]] (Set the Water level to 1, and then [[Morph Ball]] across the buoyant bridge) | ||
Latest revision as of 02:12, 16 August 2025
| Morph Ball Hole: Deathcrab Spire (West Upper Morph Ball Hole) | ||
| Current Room | ||
| AQA Save Station West |
Sector: Sector 4 (AQA)
All Categories
Items
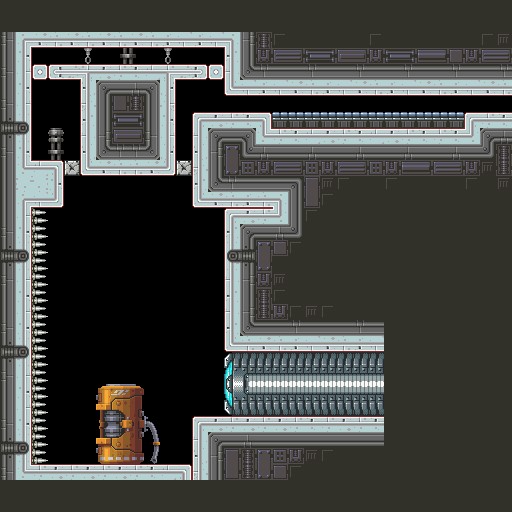
- Missile Tank 21 (Set the Water level to 1, and then Morph Ball across the buoyant bridge)
