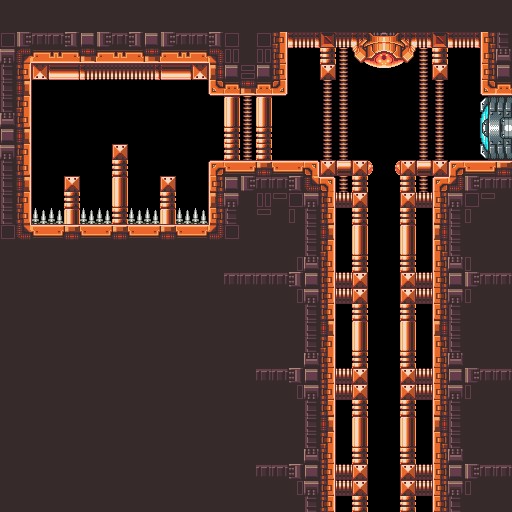
Elevator to Neo-Ridley: Difference between revisions
From X-Fusion Wiki
Jump to navigationJump to search
Mysterypaint (talk | contribs) No edit summary |
Mysterypaint (talk | contribs) |
||
| (3 intermediate revisions by the same user not shown) | |||
| Line 7: | Line 7: | ||
| westupper = | | westupper = | ||
| west = | | west = | ||
| eastupper = [[PYR Room | | eastupper = [[PYR Auxiliary Room Access]] (West Upper) | ||
| east = | | east = | ||
| southwest = | | southwest = | ||
| westsouth = | | westsouth = | ||
| south = [[ | | south = [[Elevator Passage to Neo-Ridley]] | ||
| southeast = | | southeast = | ||
| eastsouth = | | eastsouth = | ||
| Line 24: | Line 24: | ||
== Items == | == Items == | ||
* | * [[Energy Tank 11]] | ||
Latest revision as of 00:46, 16 August 2025
| Current Room | PYR Auxiliary Room Access (West Upper) | |
| Elevator Passage to Neo-Ridley |
Sector: Sector 3 (PYR)
