Sector 2 (TRO): Difference between revisions
From X-Fusion Wiki
Jump to navigationJump to search
Mysterypaint (talk | contribs) m Text replacement - "TRO Room 79400" to "Sanctum" |
Mysterypaint (talk | contribs) |
||
| (24 intermediate revisions by 2 users not shown) | |||
| Line 5: | Line 5: | ||
== List of Rooms == | == List of Rooms == | ||
[[TRO Entrance Lobby]] | |||
=== Upper West TRO === | |||
* [[TRO Entrance Lobby]] | |||
* [[TRO-MDK Tube]] | |||
* [[TRO Entrance Lobby Storage]] | |||
* [[Omega Lobby]] | |||
* [[TRO-L-X Tube]] | |||
* [[Puyo Palace]] | |||
* [[Reo Courtyard]] | |||
* [[TRO-PYR Access]] | |||
* [[TRO-PYR Elevator]] | |||
* [[Crumble Crossing]] | |||
=== Lower West TRO === | |||
* [[Cultivation Station]] | |||
* [[TRO Navigation Room]] | |||
* [[TRO Save Station West]] | |||
* [[Moldy Bridge]] | |||
* [[TRO Reserve X Room]] | |||
* [[Owtch Office]] | |||
* [[Sanctum Access]] | |||
* [[Sanctum]] | |||
* [[TRO Data Room Access]] | |||
* [[TRO Data Room]] | |||
* [[Oasis]] | |||
* [[Oasis Storage]] | |||
* [[TRO Security Room]] | |||
* [[Crumble City]] | |||
=== East TRO === | |||
* [[Cloister]] | |||
* [[TRO Save Station North]] | |||
* [[Fusion Cathedral]] | |||
* [[TRO Save Station South]] | |||
* [[Crum-Ball Tower]] | |||
* [[Overgrown Cache]] | |||
==== Zazabi's Area ==== | |||
* [[Zazabi Arena Access]] | |||
* [[Zazabi Arena]] | |||
* [[Zazabi Speedway Access]] | |||
* [[Zazabi Speedway]] | |||
* [[TRO Etecoon Room]] | |||
==== Nettori's Area ==== | |||
* [[Overgrown Entrance]] | |||
* [[Overgrown Checkpoint]] | |||
* [[Double Helix]] | |||
* [[Overgrown Speedway]] | |||
* [[Overgrown Pipeway]] | |||
* [[Needlepoint]] | |||
* [[Overgrown Vineyard]] | |||
* [[Overgrown Spire]] | |||
* [[Thornvault]] | |||
* [[Nettori Arena Access]] | |||
* [[Nettori Arena]] | |||
* [[TRO Auxiliary Room]] | |||
== Items in TRO == | == Items in TRO == | ||
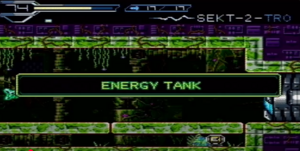
=== Energy Tanks === | === Energy Tanks === | ||
[[File:Energy Tank 2.png|thumb|left|Energy Tank 2]] | [[File:Energy Tank 2.png|thumb|left|[[Energy Tank 2]]]] | ||
<br clear="all" /> | <br clear="all" /> | ||
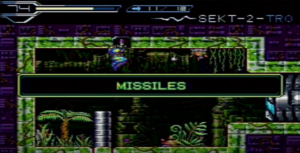
=== Missile Tanks === | === Missile Tanks === | ||
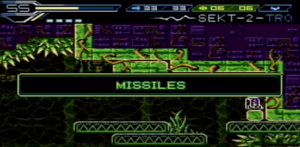
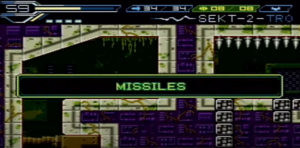
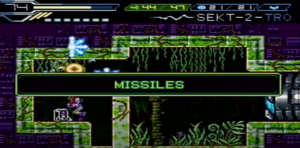
[[File:Missile Tank 10.png|thumb|left|Missile Tank 10]] | [[File:Missile Tank 10.png|thumb|left|[[Missile Tank 10]]]] | ||
[[File:Missile Tank 11.png|thumb|left|Missile Tank 11]] | [[File:Missile Tank 11.png|thumb|left|[[Missile Tank 11]]]] | ||
[[File:Missile Tank 12.png|thumb|left|Missile Tank 12]] | [[File:Missile Tank 12.png|thumb|left|[[Missile Tank 12]]]] | ||
[[File:Missile Tank 13.png|thumb|left|Missile Tank 13]] | [[File:Missile Tank 13.png|thumb|left|[[Missile Tank 13]]]] | ||
[[File:Missile Tank 14.png|thumb|left|Missile Tank 14]] | [[File:Missile Tank 14.png|thumb|left|[[Missile Tank 14]]]] | ||
[[File:Missile Tank 31.png|thumb|left|Missile Tank 31]] | [[File:Missile Tank 31.png|thumb|left|[[Missile Tank 31]]]] | ||
[[File:Missile Tank 32.png|thumb|left|Missile Tank 32]] | [[File:Missile Tank 32.png|thumb|left|[[Missile Tank 32]]]] | ||
[[File:Missile Tank 45.png|thumb|left|Missile Tank 45]] | [[File:Missile Tank 45.png|thumb|left|[[Missile Tank 45]]]] | ||
<br clear="all" /> | <br clear="all" /> | ||
=== Power Bomb Tanks === | === Power Bomb Tanks === | ||
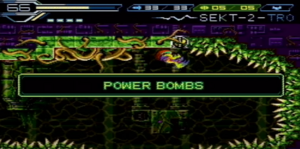
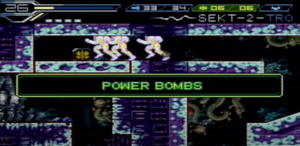
[[File:Power Bomb Tank 6.png|thumb|left|Power Bomb Tank 6]] | [[File:Power Bomb Tank 6.png|thumb|left|[[Power Bomb Tank 6]]]] | ||
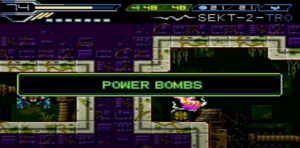
[[File:Power Bomb Tank 7.png|thumb|left|Power Bomb Tank 7]] | [[File:Power Bomb Tank 7.png|thumb|left|[[Power Bomb Tank 7]]]] | ||
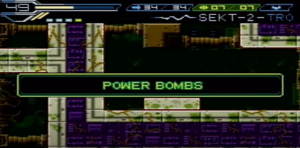
[[File:Power Bomb Tank 8.png|thumb|left|Power Bomb Tank 8]] | [[File:Power Bomb Tank 8.png|thumb|left|[[Power Bomb Tank 8]]]] | ||
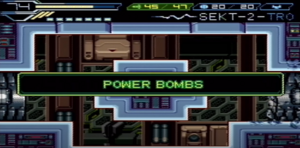
[[File:Power Bomb Tank 9.png|thumb|left|Power Bomb Tank 9]] | [[File:Power Bomb Tank 9.png|thumb|left|[[Power Bomb Tank 9]]]] | ||
[[File:Power Bomb Tank 23.png|thumb|left|Power Bomb Tank 23]] | [[File:Power Bomb Tank 23.png|thumb|left|[[Power Bomb Tank 23]]]] | ||
<br clear="all" /> | <br clear="all" /> | ||
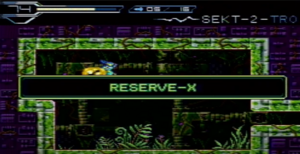
=== Reserve X === | === Reserve X === | ||
[[File:Reserve X 1.png|thumb|left|Reserve X 1]] | [[File:Reserve X 1.png|thumb|left|[[Reserve X 1]]]] | ||
<br clear="all" /> | <br clear="all" /> | ||
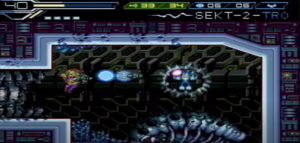
=== | === Etecoons === | ||
[[File: | [[File:Etecoon 3.png|thumb|left|[[Etecoon 3]]]] | ||
<br clear="all" /> | <br clear="all" /> | ||
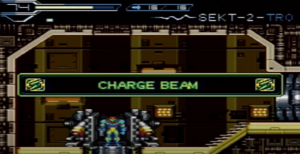
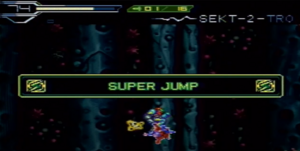
=== Major Items === | === Major Items === | ||
[[File:Major Charge Beam.png|thumb|left|Charge Beam | [[File:Major Charge Beam.png|thumb|left|[[Charge Beam]]]] | ||
[[File:Major Super Jump.png|thumb|left|Super Jump | [[File:Major Super Jump.png|thumb|left|[[Super Jump]]]] | ||
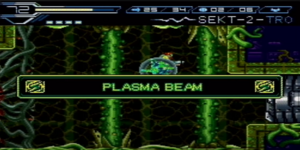
[[File:Major Plasma Beam.png|thumb|left| | [[File:Major Plasma Beam.png|thumb|left|[[Plasma Beam]]]] | ||
<br clear="all" /> | <br clear="all" /> | ||
=== Aux Power Cells === | === Aux Power Cells === | ||
[[File:Aux Power Cell 6.png|thumb|left|Aux Power Cell 6]] | [[File:Aux Power Cell 6.png|thumb|left|[[Aux Power Cell 6]]]] | ||
<br clear="all" /> | <br clear="all" /> | ||
Latest revision as of 08:43, 4 September 2025
About
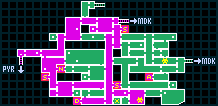
Sector 2 (TRO) is an area for X-Fusion.
List of Rooms
Upper West TRO
- TRO Entrance Lobby
- TRO-MDK Tube
- TRO Entrance Lobby Storage
- Omega Lobby
- TRO-L-X Tube
- Puyo Palace
- Reo Courtyard
- TRO-PYR Access
- TRO-PYR Elevator
- Crumble Crossing
Lower West TRO
- Cultivation Station
- TRO Navigation Room
- TRO Save Station West
- Moldy Bridge
- TRO Reserve X Room
- Owtch Office
- Sanctum Access
- Sanctum
- TRO Data Room Access
- TRO Data Room
- Oasis
- Oasis Storage
- TRO Security Room
- Crumble City
East TRO
- Cloister
- TRO Save Station North
- Fusion Cathedral
- TRO Save Station South
- Crum-Ball Tower
- Overgrown Cache
Zazabi's Area
Nettori's Area
- Overgrown Entrance
- Overgrown Checkpoint
- Double Helix
- Overgrown Speedway
- Overgrown Pipeway
- Needlepoint
- Overgrown Vineyard
- Overgrown Spire
- Thornvault
- Nettori Arena Access
- Nettori Arena
- TRO Auxiliary Room
Items in TRO
Energy Tanks
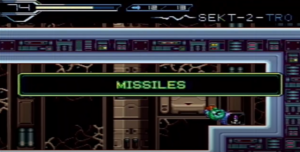
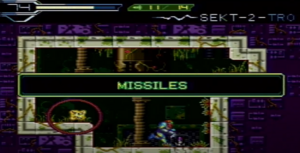
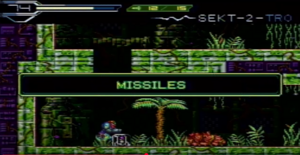
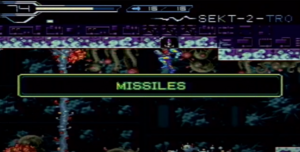
Missile Tanks
Power Bomb Tanks
Reserve X
Etecoons
Major Items
Aux Power Cells
